 how-to
How to Visualize Art in Home: AR Preview Guide
Table of Contents
- Why Visualizing Art Before You Buy Prevents Costly Mistakes
- How to Preview Art on a Wall Using an Art Visualizer App
- How to Preview Art on a Wall Without an App: Tape, Paper, and Cardboard Mockups
- Choosing the Right Art Size for Wall Space in Every Room
- Gallery Wall Layout Ideas You Can Test Digitally First
- Digital Previews vs. Physical Mockups: Which Method Gives You More Confidence
- Lighting, Frames, and Wall Color: What Your Screen Won't Show You
- Conclusion: Visualize With Confidence, Then Commit
- Frequently Asked Questions
Last Updated: October 14, 2026
Why Visualizing Art Before You Buy Prevents Costly Mistakes
Buying art without a way to visualize art on your wall is the biggest reason first-time buyers end up disappointed.
A painting that looks bold online can feel heavy above a sofa, and a print that seems small can swallow a hallway.
The fix: preview before you commit.
Below we break down every method, from phone apps to tape on the wall, plus the measurements that decide whether a piece works.
The American Institute for Conservation notes that framing and display conditions affect long-term preservation, which is another reason to plan placement before a piece arrives.
How to Preview Art on a Wall Using an Art Visualizer App
The fastest way to preview art on a wall is an art visualizer app that uses your phone camera to place a piece on your actual wall, an augmented reality, or AR, preview.
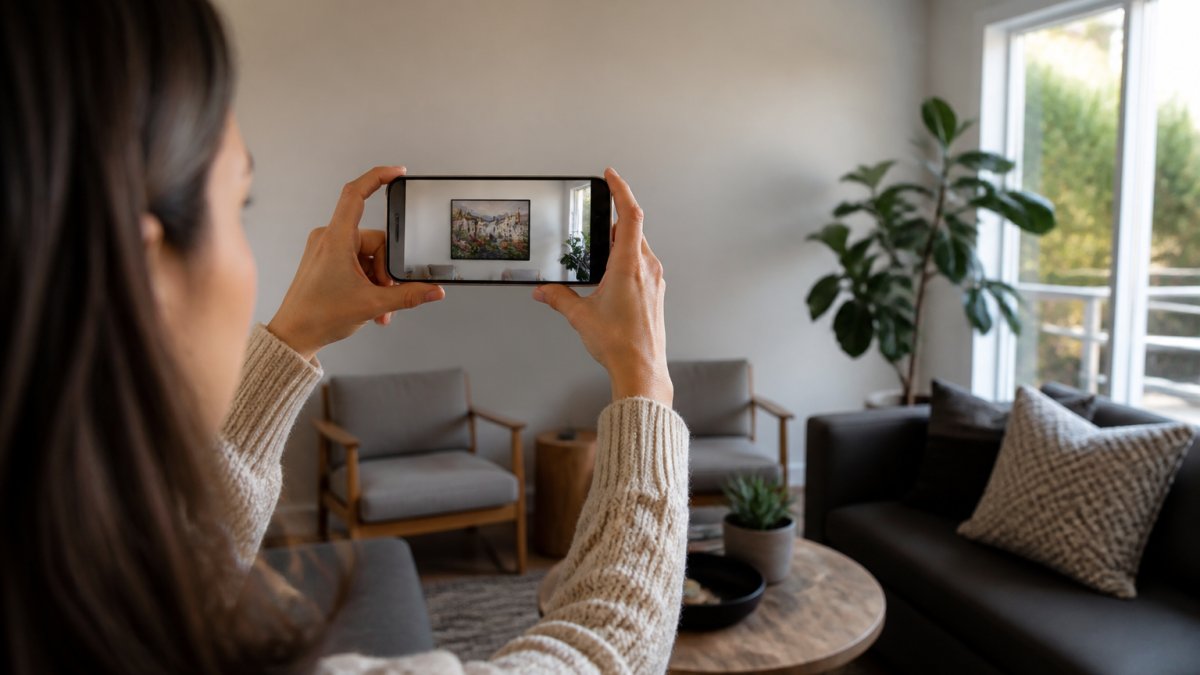
AR layers a digital image over a live camera feed: point your phone at the wall, pick a piece, and the app shows it in place, at scale.
Miramontes Gallery offers this feature directly on its product pages, so you can test a painting on your own wall before you buy it.
What Actually Happens When You Tap "Preview"
Three things have to line up for an AR preview to be believable:
- Surface detection. The app looks for a flat, textured plane, a painted wall, a door, a cabinet face. Blank white walls and glass can confuse it, so artwork sometimes floats or snaps to the wrong spot.
- Scale calibration. The app estimates distance to the wall using camera and motion sensors. Stand too close and the estimate drifts; too far back and the artwork is too small to judge.
- Lighting estimation. Better apps sample ambient light so brightness and shadow match the room. Cheaper ones paste the image flat, which is why some previews look "stuck on."
So stand roughly 6 to 8 feet back, keep the phone level, and move slowly for a few seconds so the app can lock onto the surface.
Step-by-Step: Using Your Phone Camera to Place Art on Your Wall
Here is the exact process we walk buyers through:
- Open the product page on your phone and tap the AR preview button.
- Allow camera access when your browser asks, decline and the preview will not load.
- Point the camera at the wall, holding the phone at chest height and level.
- Move the phone slowly side to side for 3 to 5 seconds so the app can read the surface.
- Drag the artwork into position. Resist pinching to resize, the point is true size, not a flattering one.
- Step back and check it from the sofa, the doorway, and the kitchen.
- Screenshot the result to compare options later.
Getting the Scale Right: Measurements That Make or Break the Preview
An AR preview only helps if the scale is accurate. Measure four things first: the width of the wall, the height from floor to ceiling, the height of the furniture the art will hang above (sofa back, headboard, sideboard), and the distance from the wall to your main viewing spot.
Two numbers do most of the work: eye level (the center of the artwork should sit roughly 57 to 60 inches from the floor) and the 60 to 75 percent rule (art should cover about 60 to 75 percent of the width of the furniture beneath it, an 84-inch sofa pairs best with art between about 50 and 63 inches wide).
Device, Browser, and Privacy Notes Most Guides Skip
AR previews are not equally available everywhere, so know the limits:
- iPhone and iPad: AR previews generally work in Safari and Chrome on recent iOS versions; older devices may run them slowly or not at all.
- Android: Support depends on Google Play Services for AR. Most mainstream phones from the last several years have it; some budget and older models do not.
- Desktop: Most AR previews do not work on a laptop, expect a static mockup or a "view on your phone" prompt.
If AR is not available on your device, the photo-based and paper methods below work on anything with a screen and a printer.
How to Preview Art on a Wall Without an App: Tape, Paper, and Cardboard Mockups
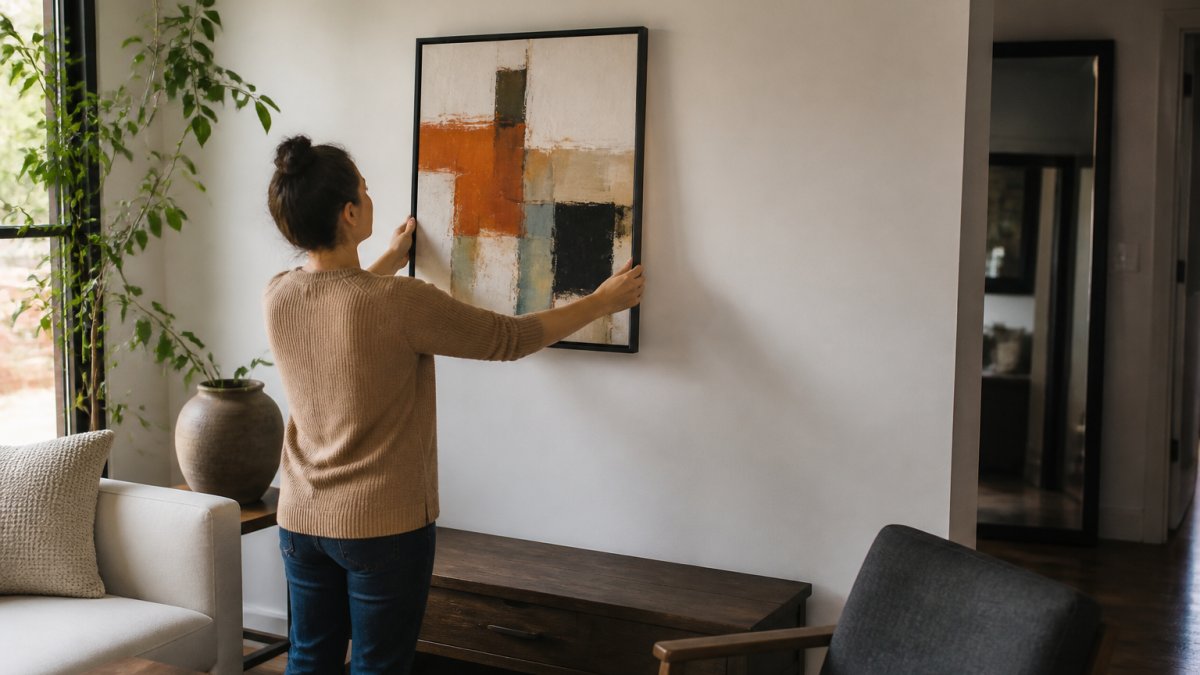
You do not need an app to preview art on a wall. Cut paper or cardboard to the piece's exact dimensions, tape it to the wall with painter's tape, and live with it for a day. Mark the center point at eye level first, leave it up at least 24 hours, and check it from the doorway, the sofa, and the kitchen.
Choosing the Right Art Size for Wall Space in Every Room
Art size for wall should relate to the furniture below it, not just the wall. Too small looks lost; too big crowds the room.
Here is a quick guide by room:
| Room | Wall to Fill | Suggested Coverage | Watch For |
|---|---|---|---|
| Living room | Above sofa | 60-75% of sofa width | Pieces that float too high |
| Bedroom | Above bed | Two-thirds of bed width | Headboard overlap |
| Dining room | Side wall | Centered on table | Glare from overhead light |
| Hallway | Narrow wall | Full height or stacked pair | Crowding doorways |
| Office | Behind desk | One anchor piece | Screen glare |
The 60 to 75 Percent Rule for Wall Coverage
The 60 to 75 percent rule says art should cover roughly 60 to 75 percent of the width of the furniture beneath it. An 84-inch sofa, for example, pairs best with art between about 50 and 63 inches wide. This one rule prevents the most common sizing mistake, too-small art is the number one regret we hear from buyers.
Gallery Wall Layout Ideas You Can Test Digitally First
Gallery wall layout ideas are easy to test digitally: arrange pieces on screen, adjust spacing, and only then pick up a hammer. Layouts that work in most homes include grid (even rows and columns, best for same-size pieces), salon style (mixed sizes filling a large wall), linear (a single row at eye level, good for hallways), anchor plus satellites (one large piece with smaller ones around it), and asymmetrical (balanced by visual weight rather than symmetry).
Digital Previews vs. Physical Mockups: Which Method Gives You More Confidence
Digital previews win on speed; physical mockups win on truth. The best results come from using both, in the right order.
Here is the honest comparison:
| Method | Time to Set Up | What It Gets Right | What It Misses | Cost |
|---|---|---|---|---|
| AR app preview | Under 5 minutes | Scale on your actual wall, framing in context | Subtle color shifts, texture, glare | Free |
| Photo mockup (paste artwork onto a room photo) | 10-20 minutes | Comparing several pieces side by side | True physical size | Free to low cost |
| Paper or cardboard template | About an hour | Exact footprint, how it feels in the room | Color, frame, and finish | A few dollars in supplies |
| Painter's tape outline | Under 10 minutes | Quick size sanity check | Everything except rough dimensions | A few dollars |
What Each Method Actually Catches
The two families of methods catch different problems:
- Digital catches "wrong for this wall." Color clashes, frame style that fights the room, a piece that looks too busy next to a patterned sofa.
- Physical catches "wrong for this space." A piece that is technically the right width but feels too small because the ceiling is high, or too heavy because the sofa is low.
Neither replaces the other. A preview that looks perfect on your phone can still feel wrong in the room, and a paper template tells you nothing about whether the colors work.
A Workflow That Uses Both
This sequence takes about a day end to end:
- Shortlist three to five pieces using product photos and dimensions.
- Run each through an AR preview on the actual wall and screenshot the results.
- Compare screenshots side by side at the same viewing distance; eliminate anything that clashes with the wall color or furniture.
- Cut a paper template for the final one or two contenders, at exact dimensions.
- Tape it up for 24 hours and check it from the doorway, the sofa, and the kitchen.
- Adjust the height so the center sits at 57 to 60 inches from the floor, then mark the spot.
By the time you pick up a hammer, you have seen the piece in context, confirmed its footprint, and lived with it for a day.
When to Skip One Method
- Skip the paper template if you are buying a piece you have seen in person and only need to confirm placement. The AR preview is enough.
- Skip the AR preview if the piece is a one-of-a-kind commission or a gift with no product page. Go straight to a paper template and a photo mockup.
- Skip both only if you are buying a small piece for a low-stakes spot, a shelf, a hallway nook, a bathroom. The cost of being wrong is low.
Lighting, Frames, and Wall Color: What Your Screen Won't Show You
Your screen will not show you everything. Lighting, frame choice, and wall color all shift how a piece looks in ways a preview can only approximate.
The National Gallery of Art's framing guide explains how frame style affects how a work is perceived, which is worth reading before you commit to a presentation choice.
For a more technical view of how light behaves on a surface, the Smithsonian's conservation resources covers display and lighting considerations in detail.
Conclusion: Visualize With Confidence, Then Commit
The hardest part of buying art online is trusting it will look right on your wall.
Every purchase also comes with a secure, SSL-encrypted checkout and a clear return policy that includes no-charge replacements for quality issues. If a piece arrives damaged or not as described, we make it right.
Get started with Miramontes Gallery, preview your next piece on your own wall, and buy with the confidence that it belongs there.
Frequently Asked Questions
How can I visualize artwork on my wall before buying it?
Use an art visualizer app that lets you point your phone camera at the wall and see the piece at scale. Stand about 6 to 8 feet back so the camera captures the full wall area. Make sure the app uses the artwork's actual dimensions in inches, not a generic thumbnail. If the seller doesn't offer augmented reality, tape paper cut to the painting's exact size on the wall and live with it for a day before ordering.
Can augmented reality show how a painting will look on my wall?
Yes, AR apps overlay a digital image of the artwork onto your live camera feed, scaled to the piece's real dimensions. The preview handles placement and proportion well. What it can't replicate is how the actual paint surface, texture, and finish reflect your room's specific light. Treat the AR preview as a sizing and layout tool, then factor in your wall color and light sources separately.
How do I choose the right size artwork for a wall?
Measure the wall section you want to fill, then aim for the art to cover 60 to 75 percent of that width. For a sofa, the art should span roughly two-thirds of the furniture's width. Center the piece so its middle sits at 57 to 60 inches from the floor, which is standard eye level. If you're between two sizes, go larger; undersized art on a large wall is the most common mistake.
What is the easiest way to preview art in a room without special tools?
Print the artwork image at the correct proportional size on paper, cut it out, and tape it to the wall at your planned hanging height. Step back 6 to 8 feet and check the proportion against nearby furniture. This method costs almost nothing and gives you an accurate footprint. The tradeoff is you won't see color accuracy or how the frame style interacts with your wall color.